Oven vs. Air Dry: Get Fresh Oregano Dried in Just 60 Minutes
There's nothing quite like the vibrant aroma and robust flavor of fresh oregano, whether plucked straight from your garden or purchased from the farmers market. This Mediterranean herb is a culinary staple, lending its distinct taste to everything from pizzas and pasta sauces to grilled meats and salads. However, the season for fresh herbs is often fleeting, leaving many home cooks longing for that garden-fresh goodness during colder months. While traditional air drying is a time-honored method, it can take days, or even weeks, to achieve perfectly preserved herbs. For those of us with limited space, a bustling schedule, or simply a desire for instant gratification, there's a revolutionary way to get fresh oregano dried in just 60 minutes: the oven method.
Imagine transforming a lush bundle of fresh oregano into a fragrant, crumbly spice in a mere hour. This game-changing technique means you no longer have to mourn the end of the growing season or rely solely on store-bought dried herbs. With our comprehensive guide, you'll learn precisely
how to dry oregano in 1 hour, ensuring you have a steady supply of this fantastic herb all year long. Forget slow-drying racks and tedious waits; it's time to embrace the speed and efficiency of your oven.
Traditional Air Drying vs. The Rapid Oven Method: A Comparison
When it comes to preserving herbs, two methods typically come to mind: air drying and oven drying. Both have their merits, but they cater to very different needs and timelines.
Air Drying Herbs
Air drying is perhaps the most traditional and simplest method, requiring no special equipment other than some twine and a suitable drying spot. You simply gather your herb sprigs, tie them into small bundles, and hang them upside down in a warm, dry, well-ventilated area away from direct sunlight.
*
Pros: Minimal cost, no energy consumption, preserves flavor well if done correctly.
*
Cons: Time-consuming (can take 1-3 weeks depending on humidity and herb type), requires ample space for hanging, susceptible to dust accumulation, inconsistent results if conditions aren't ideal (too humid leads to mold). This method is often not ideal for those in small apartments or impatient gardeners!
The Rapid Oven Drying Method
The oven drying method, by contrast, leverages controlled heat to quickly evaporate moisture from the herbs. This technique is perfect for anyone looking for a quick turnaround, ensuring you can go from garden to spice jar in a single afternoon. It's truly the easiest way to dry herbs, especially when you need to dry oregano quickly.
*
Pros: Exceptionally fast (around 1 hour), consistent results, uses readily available kitchen equipment, allows for batch processing if you have a bountiful harvest. It's perfect for those who want to
quick dry oregano and preserve your herbs in an hour with the oven.
*
Cons: Requires attentiveness to avoid burning, uses electricity, can potentially reduce some volatile oils if the temperature is too high. However, by using the lowest possible oven setting, we mitigate this risk significantly.
For speed, convenience, and reliable results, especially when asking "how to dry oregano in 1 hour," the oven method is the clear winner. It's a fantastic solution for gardeners with a large harvest or urban dwellers who don't have the space for extensive air-drying setups.
Preparing Your Fresh Oregano for Rapid Drying
Before you even think about turning on your oven, proper preparation of your fresh oregano is crucial for achieving that perfect 60-minute dry. This step ensures both cleanliness and efficiency.
To Wash or Not to Wash?
The decision to wash your oregano depends largely on its origin:
*
Homegrown Organic Oregano: If your oregano comes from your own garden and hasn't been treated with pesticides or exposed to heavy dust, washing might be unnecessary. Often, a gentle shake to dislodge any loose dirt or insects is sufficient. Minimal handling helps preserve the delicate oils that give oregano its flavor.
*
Store-Bought or Unknown Origin: If you've purchased your oregano or are unsure about its growing conditions, it's always safer to wash it. Gently run the sprigs under cool, running water to remove any potential residues or soil. Avoid soaking, which can cause bruising and waterlogging.
The Critical Drying Step
Whether you wash your oregano or not, ensuring it is *completely* dry before it enters the oven is paramount. Any residual moisture will significantly extend the drying time, making your 60-minute goal unattainable.
*
Pat Dry Thoroughly: After rinsing, gently pat the oregano sprigs dry with a clean kitchen towel or paper towels. Be delicate to avoid crushing the leaves.
*
Air Dry Overnight (Optional but Recommended): For optimal results, especially if you washed your oregano, spread the sprigs on a clean towel or paper towels and let them air dry overnight. This allows any hidden moisture to evaporate naturally.
*
Salad Spinner: A salad spinner can be incredibly effective at removing excess water quickly after washing, but follow up with patting or air drying to ensure absolute dryness.
Do not proceed to the oven until your oregano is bone-dry to the touch. This single step is the biggest determinant of achieving perfectly dried oregano in just one hour.
Step-by-Step Guide: How to Dry Oregano in the Oven in 60 Minutes
Ready to transform your fresh oregano into a pantry staple in record time? Here’s a detailed, step-by-step guide to drying oregano in your oven, ensuring optimal results every time.
- Preheat Your Oven to its Lowest Setting: This is arguably the most critical step. You want to dehydrate the herbs, not cook them. Most ovens have a lowest setting between 150°F (65°C) and 180°F (82°C). If your oven only goes down to 180°F, that’s perfectly fine. The key is low and slow heat to gently coax out the moisture.
- Prepare Your Baking Sheet: Line a large baking sheet with parchment paper. This prevents the oregano from sticking and makes cleanup a breeze.
- Arrange Oregano in a Single Layer: Place the thoroughly dried oregano sprigs on the prepared baking sheet in a single layer. Ensure there is adequate space between each sprig. Overcrowding will trap moisture and lead to uneven drying, extending the process. If you have a large batch, use multiple baking sheets.
- Bake and Monitor: Place the baking sheet(s) in the preheated oven. Set a timer for 20-30 minutes initially. After this time, gently turn the oregano sprigs to expose different sides to the heat. Continue baking, checking every 10-15 minutes thereafter.
- Check for Doneness: The oregano leaves should be completely dry and brittle to the touch after approximately 60 minutes, though oven temperatures and herb moisture content can cause slight variations. The leaves should easily crumble between your fingers. If they still feel pliable or soft, continue baking for additional 10-minute increments until they are crisp. Some people even like to turn off the oven and leave the oregano inside to cool down completely, allowing residual heat to finish the drying process gently.
- Cool Completely: Remove the baking sheet from the oven and allow the dried oregano to cool completely at room temperature. This step is important because the herbs will crisp up even further as they cool.
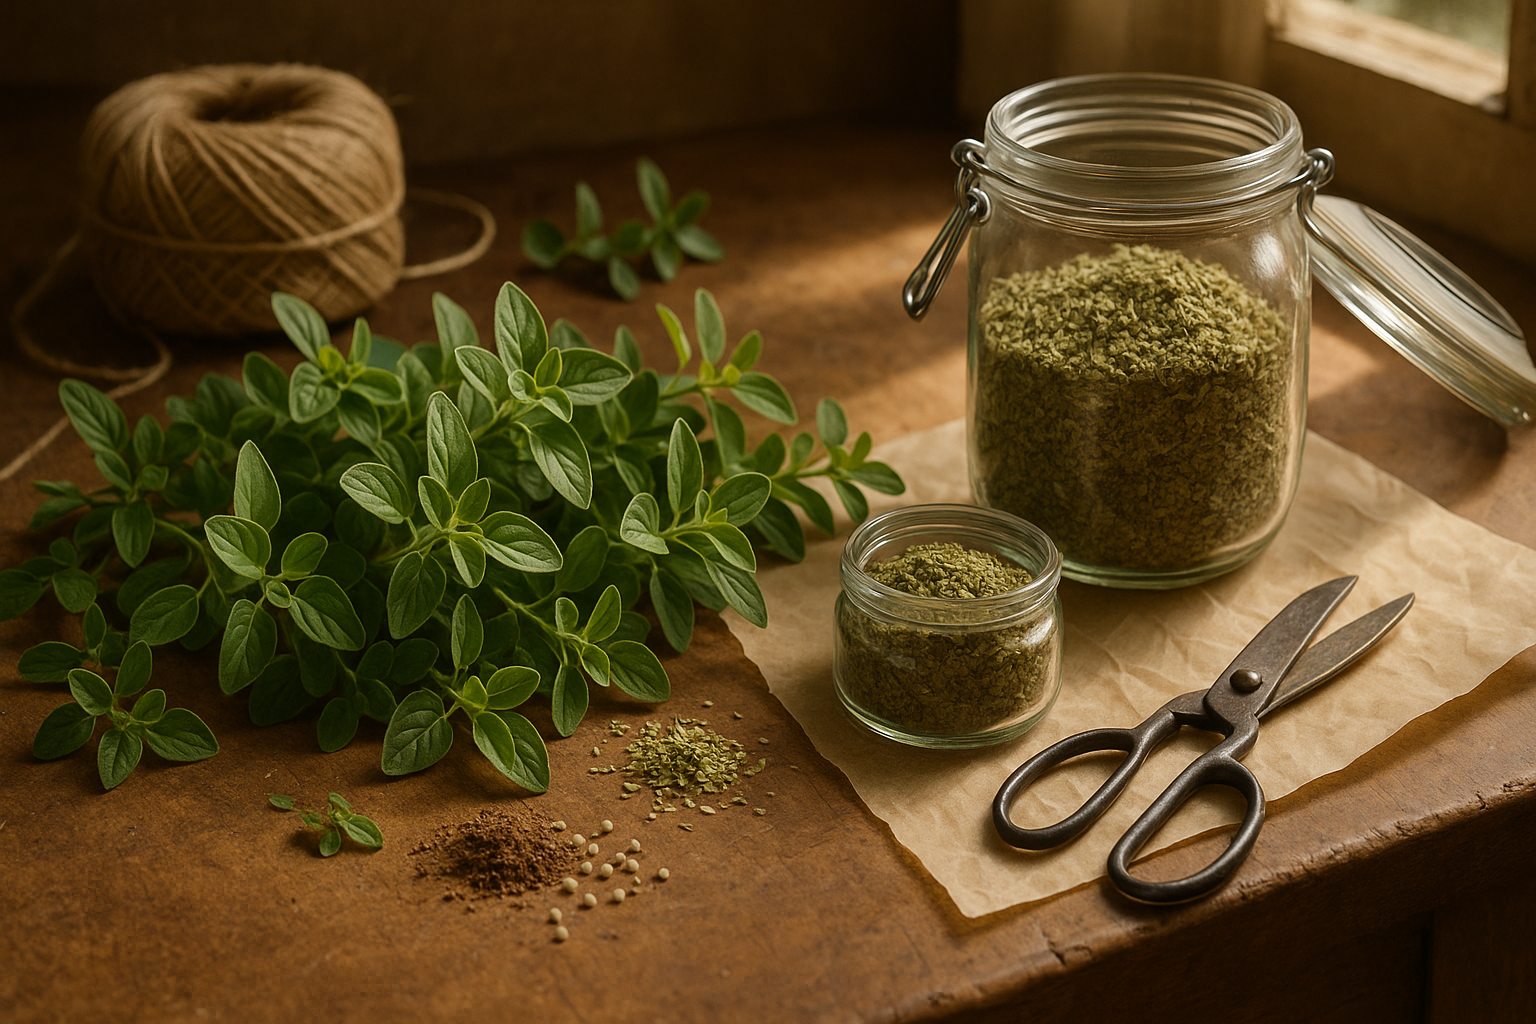
- Crumble and Store: Once cool, gently remove the leaves from the stems. You can easily do this by hand, simply rubbing the brittle leaves off the woody stems. For a finer grind, you can gently crush the leaves in a mortar and pestle or give them a quick pulse in a clean coffee grinder or food processor, being careful not to over-process into a powder unless desired.
This method truly makes drying oregano a quick and rewarding experience, allowing you to enjoy your homegrown flavors without the long wait.
Beyond Drying: Storing Your Homegrown Oregano
Once your oregano is perfectly dried and crumbled, proper storage is crucial to maintain its potency and flavor for months to come.
*
Airtight Containers are Key: Transfer your dried oregano to an airtight container. Glass jars with tight-fitting lids, or even sturdy plastic containers, work best. The goal is to protect the herbs from moisture and air, which can degrade their quality.
*
Dark, Cool, and Dry: Store the sealed containers in a cool, dark, and dry pantry or cupboard. Exposure to light, heat, or humidity will cause the oregano to lose its color, aroma, and flavor more quickly. Avoid storing them near the stove or above other heat-emitting appliances.
*
Label and Date: Always label your containers with the herb's name and the date it was dried. This helps you keep track of its freshness. Dried oregano typically maintains its peak flavor for 6 to 12 months, though it can remain safe to use for longer, albeit with diminished potency.
By following these simple storage tips, you'll extend the life of your perfectly preserved oregano, ensuring you have a steady supply of this versatile herb ready for all your culinary adventures.
Conclusion
Drying fresh oregano doesn't have to be a multi-day affair. With the oven drying method, you can harness the full flavor of your homegrown herbs and have them ready for storage in approximately 60 minutes. This efficient, straightforward process eliminates the wait and space constraints of traditional air drying, making it an ideal solution for any home cook or gardener. From vibrant pasta dishes to savory marinades, your quick-dried oregano will infuse your meals with a depth of flavor that only truly fresh, well-preserved herbs can provide. So, gather your sprigs, preheat your oven to its lowest setting, and get ready to enjoy the satisfaction of perfectly dried oregano, available whenever inspiration strikes.